After register and have droplet with minimum CentOS Server 6.5 installed, now we will setup it as a server. We will need to install Apache + PHP + MySQL + PHPMyAdmin + FTP Server. This tutorial i will introduce the Apache Server. Nginx server will have another tutorial.
Install Apache:
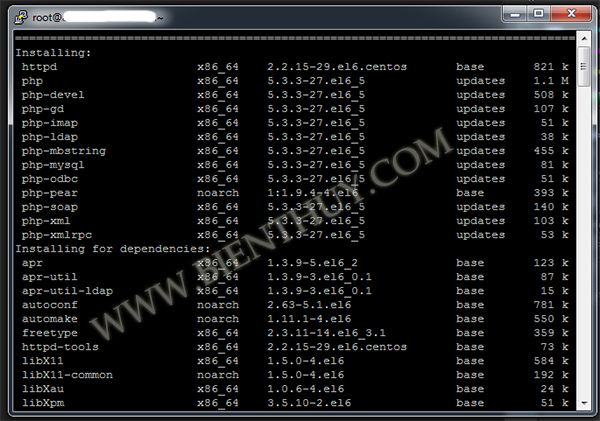
yum install httpd php php-devel php-gd php-imap php-ldap php-mysql php-odbc php-pear php-xml php-xmlrpc php-mbstring php-soap php-mcrypt php-mhash

After finish, run command:
chkconfig httpd --level 345 on
And then:
service httpd start
Install Mysql:
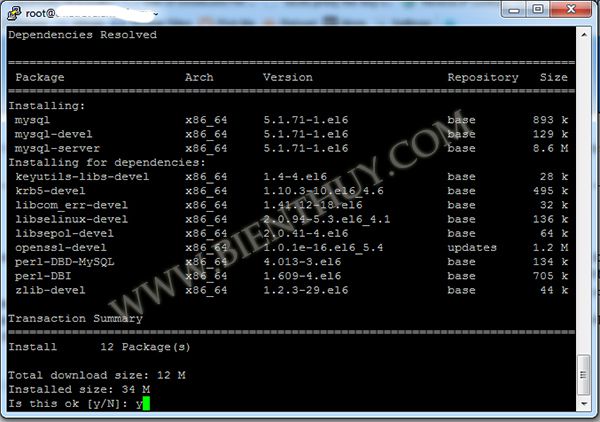
yum install mysql mysql-devel mysql-server

After finish, run command:
mysqld --level 345 on
And then:
service mysqld start
Create a new root password for mysqlserver: mysqladmin -u root password matkhau
Replace matkhau by your own
Install phpmyadmin:
Run command:
rpm -ivh http:<code class="php comments">//ftp.jaist.ac.jp/pub/Linux/Fedora/epel/6/i386/epel-release-6-8.noarch.rpm</code>
Or : rpm –Uvh https://download.fedoraproject.org/pub/epel/6/i386/epel-release-6-8.noarch.rpm
Or : rpm -Uvh https://rpms.famillecollet.com/enterprise/remi-release-6.rpm
Next, we run:
yum update
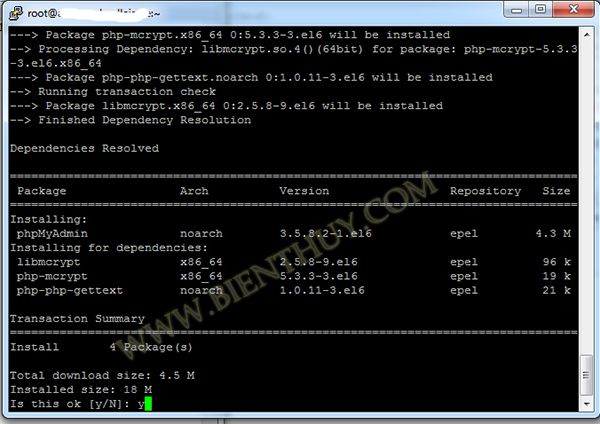
yum install phpMyAdmin
Cd /usr/share/phpMyAdmin
and
mv config.sample.inc.php config.inc.php

Vi config.inc.php
service httpd restart
In command type:
vi /etc/httpd/conf/httpd.conf
Add these lines at the end of file:
<Directory "/usr/share/phpMyAdmin">
Order allow,deny
Allow from all
</Directory>
Install FTP Server:
yum -y install vsftpd
After installation, Open the file /etc/vsftpd/vsftpd.conf which is the config file for vsftpd ( I mean FTP server ) .Find the below line
anonymous_enable=YES
Replace YES to NO to disable anonymous login ( Login without username and password ).
anonymous_enable=NO
Uncomment the below line to disable chroot access ( optional )
chroot_local_user=YES
Add these lines at the end of file:
pasv_enable=YES
pasv_min_port=64000
pasv_max_port=64321
port_enable=YES
Next we creat FTP user and add it to a folder:
mkdir /home/bienthuy.com
useradd -d /home/bienthuy.com bienthuy
And then we creat password for user bienthuy
passwd bienthuy
Changing password for user bienthuy.
New password:
You just created username bienthuy with home directory /home/bienthuy.com.
Change mod, owner for user bienthuy:
chown –hR bienthuy:apache /home/bienthuy.com
chmod -R g+w /home/bienthuy
chmod g+s /home/bienthuy
» Start vsftpd service by issuing the below command.
service vsftpd start
chkconfig –levels 235 vsftpd on
» That’s it, Now we can check the FTP access .Create some files in /home/bienthuy.com folder
